Cygwin / Mecurial on Windows (AS220 Server)
Mercurial is a free, distributed source control management tool. It efficiently handles projects of any size and offers an easy and intuitive interface.
- Step 1: Download Cygwin
- Step 2: Install Cygwin
- Step 3: Install Bonjour
- Step 4: Key Files
- Step 5: Setting the port
- Step 6: Clone the archive
- Step 7: Edit the Configuration File
- Step 8: Update the Archive
- Working with Mercurial
- Having Problems? Getting Strange Error Messages?
Step 1: Download Cygwin
Cygwin is:
- a collection of tools which provide a Linux look and feel environment for Windows.
- a DLL (cygwin1.dll) which acts as a Linux API layer providing substantial Linux API functionality.
- this added Linux functionality will enable us to use Mercurial via the command line.
Download Cygwin:
http://www.cygwin.com/
Step 2: Install Cygwin
Click on the setup.exe file to begin the installation.
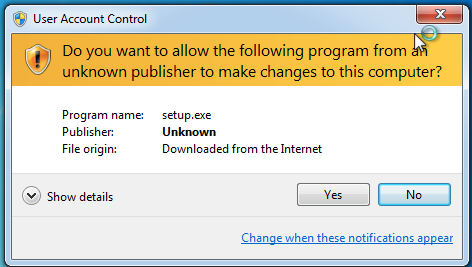
Click "Yes"
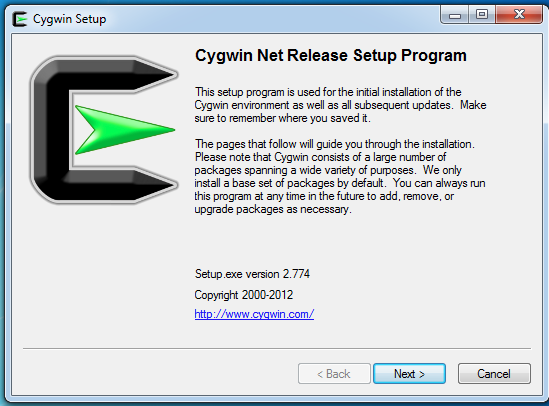
Click "Next >"
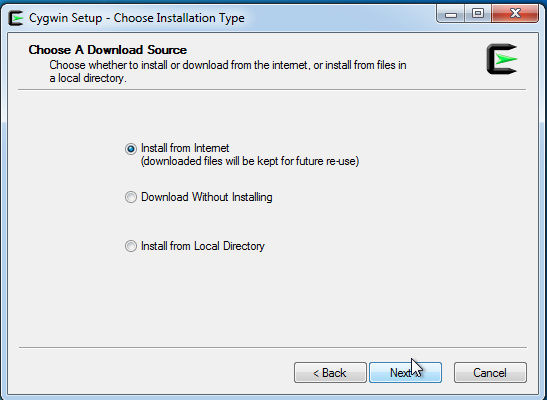
Click "Next >"
Click "Next >"
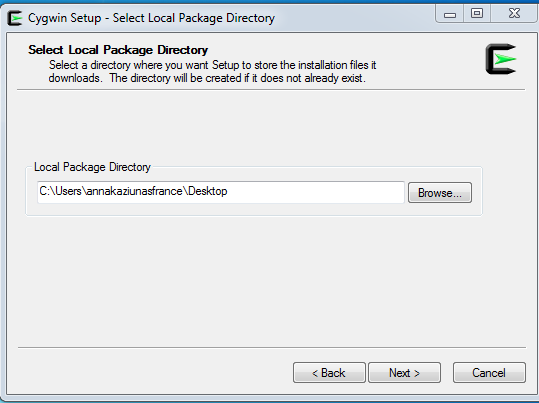
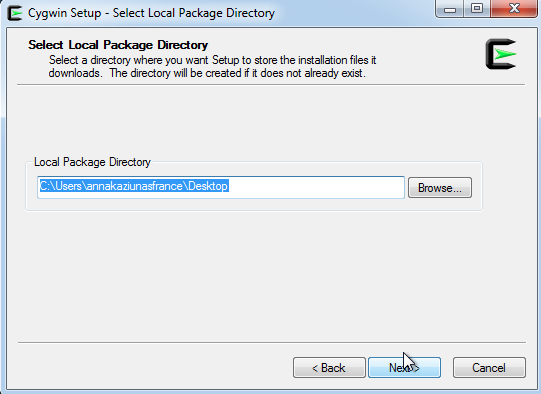
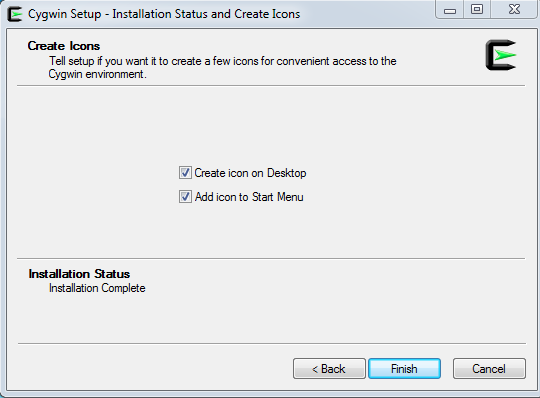
Navigate to the Desktop, then click "Next >"
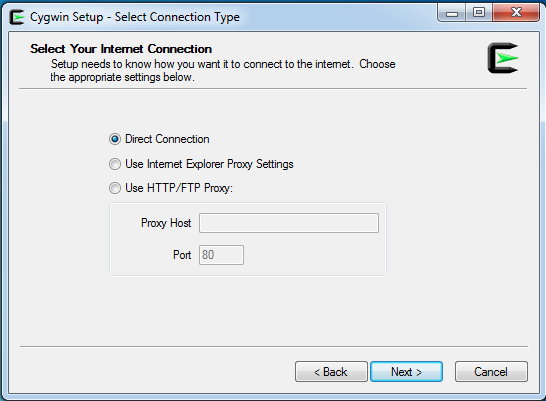
Click "Next>"
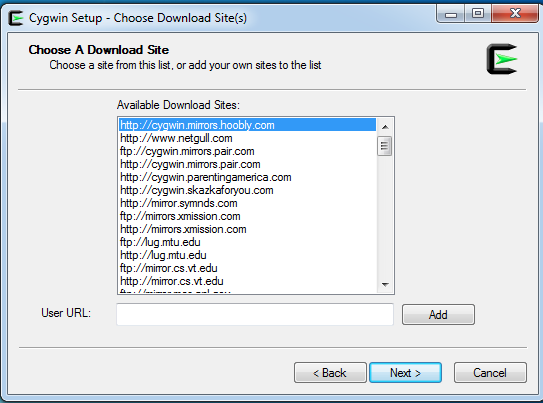
Select a download site, it does not matter which one, then click "Next >"
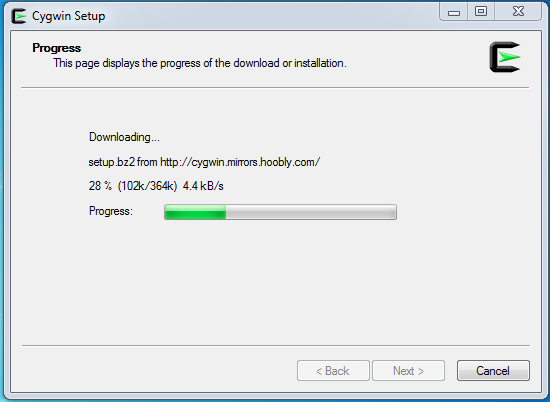
Files are downloading.....
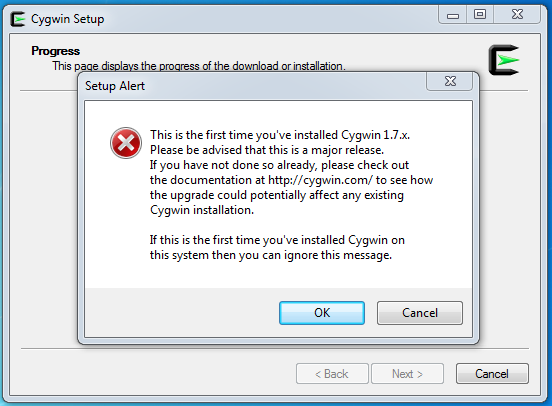
Click "Ok"
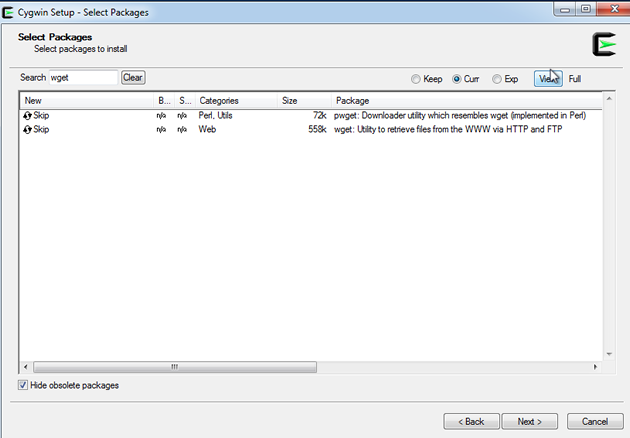
Type "wget" into the Search box, then click the "View" Button. Your screen should look like the screenshot below.
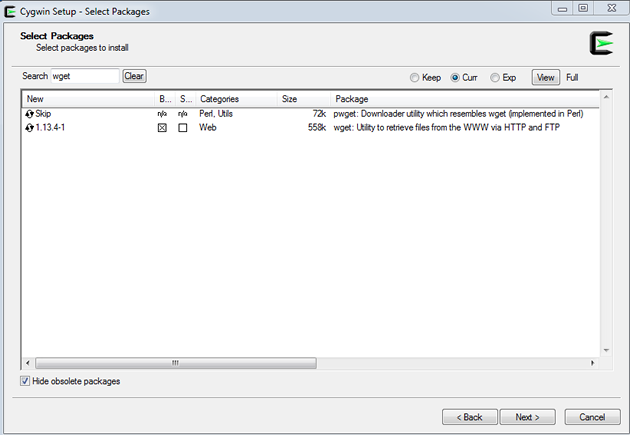
For package "wget" (second on list), click where it says "Skip". The box for wget should now be marked with an "X", as shown in the screenshot below.
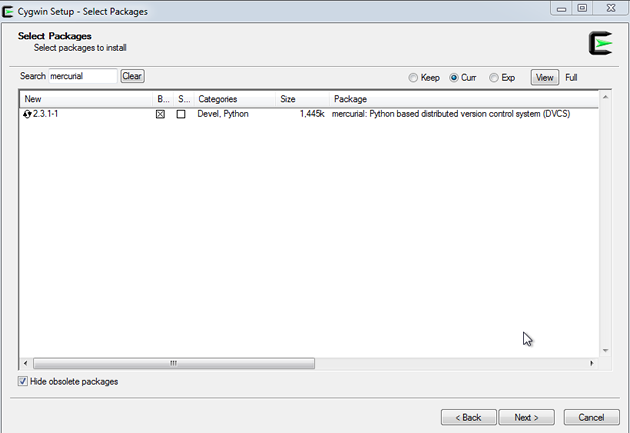
Now type "mercurial" into the search box and click the "View" button .Click where it says "Skip". The box for mercurial with the category "Devel. Python" should now be marked with an "X", as shown in the screenshot below.
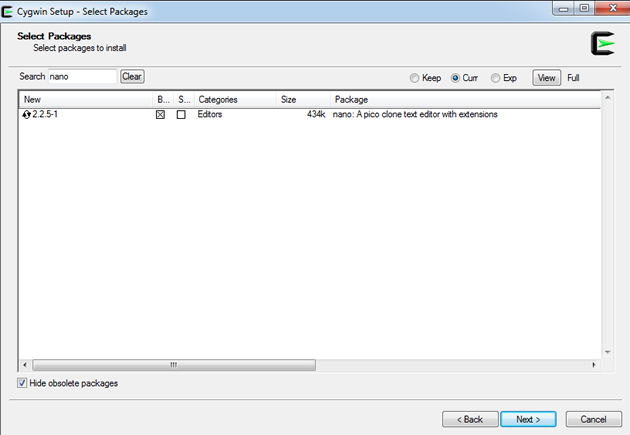
Now type "nano" into the search box and click the "View" button. Click where it says "Skip". The box for nano should now be marked with an "X", as shown in the screenshot below.
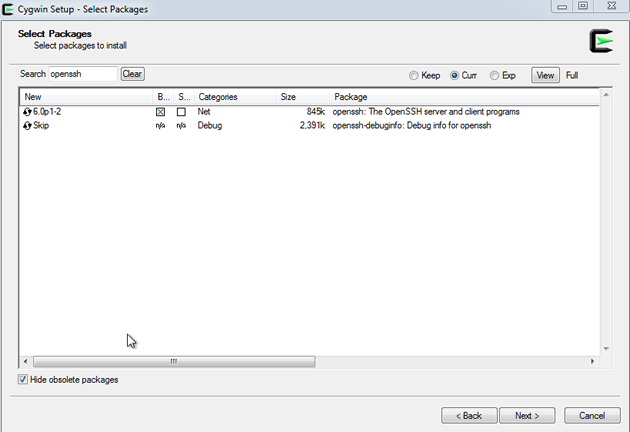
Now type "openssh" into the search box and click the "View" button. Click where it says "Skip". The box for openssh should now be marked with an "X", as shown in the screenshot below.
Click "Next >"
Click "Next>"
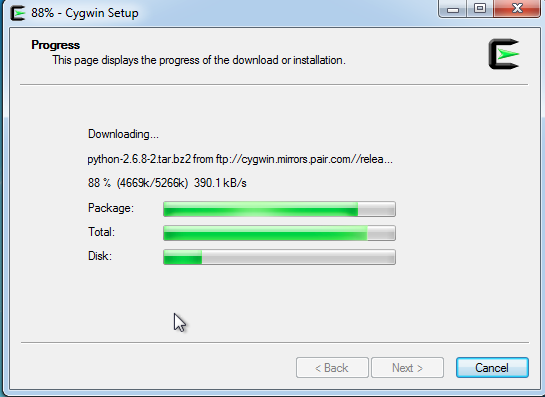
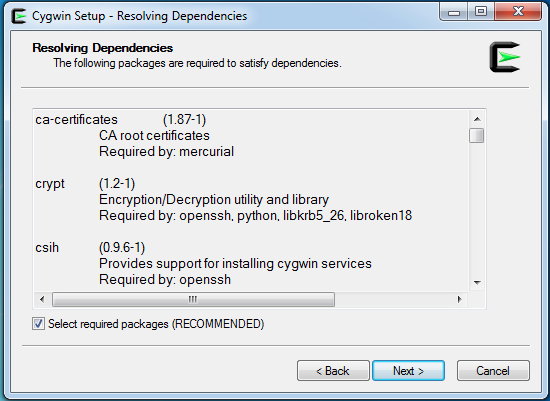
Packages are downloading and installing.....
Step 3: Install Bonjour
If you don't already have iTunes installed, download bonjour: http://support.apple.com/kb/DL999
Step 4: Key files
You will receive and email from your instructor with the key files. You need to put key files (academy and academy.pub) where Mercurial can find them.
Open the Cygwin terminal
You will be in your home directory by default. Your prompt with look something like:
annakaziunasfrance@AKAZIUNA8765 ~
$
Type the following text into the terminal after the prompt:
ls .ssh
ls: cannot access /home/akaziuna/.ssh: No such file or directorythen you need to create the .ssh folder. If you do not get this message, skip the command below.
Type:
mkdir .ssh
Within the .ssh directory you need to create another directory called keys.
To do this type:
mkdir .ssh/as220Keys
Download the keys that your instructor sent you in an email. They are named academy and academy.pub. You will need to place them in the keys directory.
To do this, save the key files from the email to:
Computer > Local Disc(C:) > cygwin > home > yourNameDirectory
Next, we need to change the permissions on the keys. You need to set permissions for your private key so that only you have read/write access to them.
Type:
chmod 644 academy.pub
Then type:
chmod 600 academyYou need to move both of the keys from your desktop to the keys directory that you created earlier.
Type:
mv academy .ssh/as220KeysThen type:
mv academy.pub .ssh/as220Keys
Both keys are now located in the .ssh directory.
You can check to see by typing:
ls -l .ssh/as220Keys to list the contents of the directory.
You should see that academy and academy.pub are listed.
Step 5: Setting the Port
You will need to set the port that ssh uses to access fab.cba.mit.edu. You can do this by creating and editing a config file within your .ssh directory.
Type:
nano config
A text editor will open. Next we need to edit the file.
Add the following text to the text editor in the terminal window:
host corkwood.dreamhost.com
port 22
To save the file:
- press [control]+O to save the file
- press [control]+X to exit the editor
Do not add any extension to the file name. Now we need to move it to the .ssh directory.
Type:
mv config .ssh/as220Keys
Step 6: Clone the archive
Now we need to clone the archive. For convenience, we will clone it to the desktop.
Copy the text and paste it into the terminal:
hg clone ssh://as220mercurial@corkwood.dreamhost.com//home/as220mercurial/hg/repos/academy.2013 as220.2013
I f you are cloning for the first time, you will be told that the "authenticity of the host cannot be established" and are given the option to type "yes" or "no".
Type "yes"
You will be asked for a password - contact your instructor.
You should see the following response (or a similar response)in the terminal as the archive is cloned. Success!
requesting all changes
adding changesets
adding manifests
adding file changes
added 225 changesets with 8439 changes to 7765 files
updating to branch default
4479 files updated, 0 files merged, 0 files removed, 0 files unresolved
A folder named as220.2013 has been created in your home directory in the Cygwin folder. This folder contains the archive content.
You can navigate there through the GUI (Graphical User Interface) by clicking through the following folders: Computer > Local Disc(C:) > cygwin > home > yourNameDirectory
Step 7: Edit the Configuration File
Now you need to edit your archive's personal configuration file. To do this you need to move into the archive folder named "as220.2013" that you just created in your home directory.
Type:
cd as220.2013
You are now within the as220.2013 directory.
To edit your archive's personal configuration file (called hgrc) to reflect your name and email we need to open the file in a editior:
Type:
nano .hg/hgrc
A text editor will open inside the terminal window.
This text should already be in the file:
[paths]
default = ssh://as220mercurial@corkwood.dreamhost.com//home/as220mercurial/hg/repos/academy.2013
Put the following text in the file.
[ui]
username = First Last <user@machine.domain>
ssh = ssh -p 22 -i ~/.ssh/as220Keys/academy -C
[hooks]
changegroup = hg update >&2
- Change the First and Last Name to your first and last name.
- Change the "<user@machine.domain>" text to your email address.
To save the file:
- press [control]+O to save the file
- press [control]+X to exit the editor
Do not add an extension to the file name.
Step 8: Update Your Archive
Now try updating your archive by typing:
hg pull
you should see a response like this:
searching for changes
           no changes found
           remote: buffer_get_ret: trying to get more bytes 4 than in buffer 0
           remote: buffer_get_string_ret: cannot extract length
           remote: key_from_blob: can't read key type
           remote: key_read: key_from_blob
         remote:  failed
If you are asked for a password, then Mecurial can't find the keys or the key file permissions are wrong. (see step 4)
If it says something about port 22, then you probably forgot to edit the config file (see step 7)
Working With Mercurial
1. To get all changes from the MIT repository into your repository:
hg pull
To add new files
hg add
To commit changes
hg commit -m "MESSAGE"
To push files to server - Never force push!
hg push
